
Guide
How to photograph an antique for identification
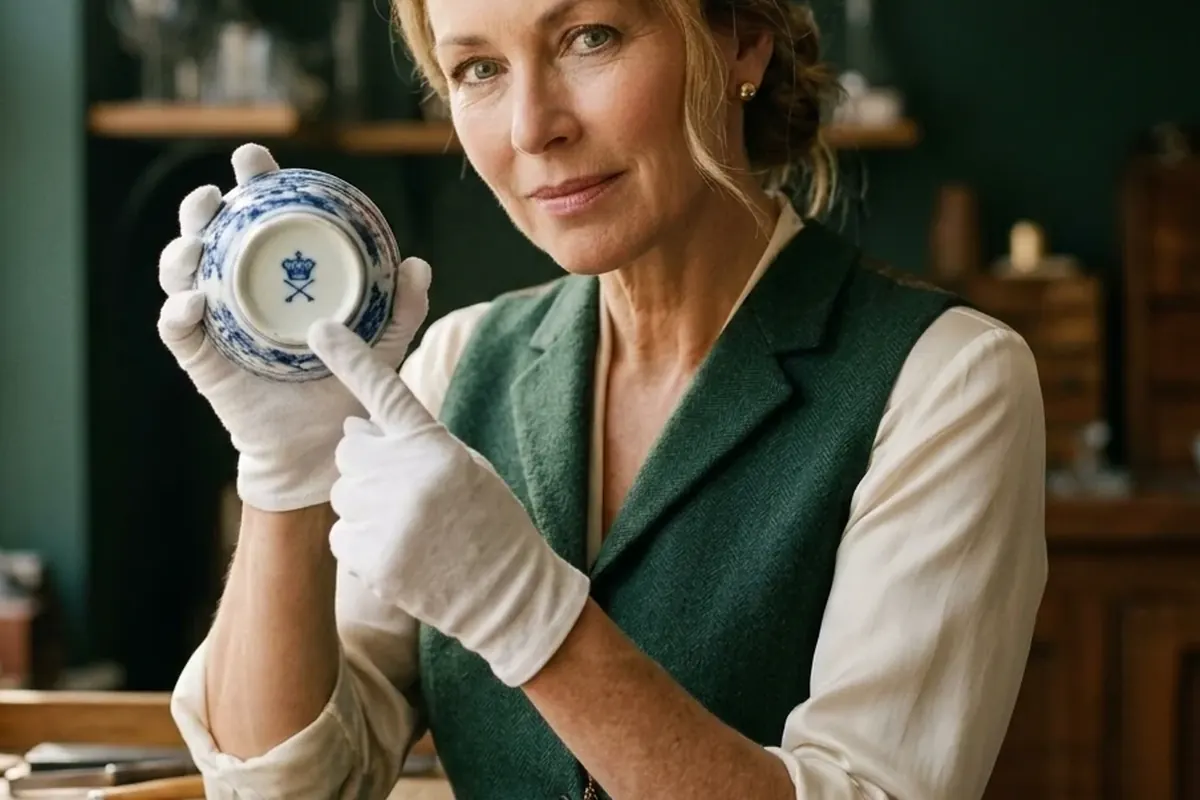
Photograph four things: the whole object against a plain background, the underside or wherever the mark is, the construction details where parts join, and every fault. Use indirect daylight, never flash, and fill the frame with the mark rather than photographing the whole base and hoping. Most failed identifications are failed photographs.
Light first, because nothing else recovers from bad light
Use indirect daylight — near a window, out of direct sun. Direct sun blows out glaze and silver and hides exactly the surface detail that carries the information. Overhead room lights cast a colour and flatten form. Turn the flash off. On anything reflective it produces a white disc where the mark was, and on anything matte it flattens the wear pattern into nothing.
If the piece is dark or the mark is faint, raking light helps: a lamp low and to one side, so the relief casts small shadows. That is how an impressed mark becomes readable when a flat-lit photograph shows nothing.
The four shots that matter
1. The whole object
Plain background, no patterned tablecloth, no other objects in frame. Shoot at roughly the object’s own height rather than looking down at it — the profile is what identifies a form, and a top-down photograph destroys it. Include something for scale if the size is not obvious.
2. The mark
This is the single most valuable photograph you will take, and the one most often wasted. Fill the frame with the mark. Do not photograph the whole base and expect anyone to zoom in — phone cameras put their detail where the frame is, not where you meant. Marks live on the underside of ceramics, the base rim or lid edge of silver, the back of a movement, the inside of a ring shank, the back edge of a drawer.
If your camera will not focus that close, back off slightly and crop afterwards. A sharp photograph cropped is worth more than a close blurred one.
3. Construction
Where parts meet is where the date is. On furniture: the drawer sides, the joint at the corner, the underside, the back panel, the screws. On ceramics: the foot rim and the join line. On silver: the seams and the handle attachment. These are duller photographs than the front of the piece, and they are more informative.
4. Every fault
Chips, cracks, hairlines, losses, replaced parts, worn gilding. It is tempting to photograph around damage — resist it. Condition moves value more than almost anything else, so an estimate made from flattering photographs is an estimate of a piece you do not own.
Common mistakes
- Flash on glass, glaze or silver.
- Photographing the whole base instead of the mark.
- Shooting from above so the profile is lost.
- A busy background that the eye — and the software — reads as part of the object.
- Cleaning first. Do not. Dirt is reversible; a stripped patina or a scrubbed gilt edge is not, and cleaning before an appraisal has destroyed a great deal of value over the years.
Common questions
Where is the maker’s mark on an antique?
On ceramics, the underside of the foot. On silver, the base, the rim or the lid edge, often struck as a row of small punches. On clocks and watches, the back of the movement or the inside of the case back. On furniture, the back edge of a drawer, the underside of a seat rail or the inside of a carcass.
Should I clean an antique before photographing it?
No. Surface dirt can be removed later; a stripped patina, a polished-out hallmark or a scrubbed gilt edge cannot. Cleaning before an appraisal routinely removes more value than it reveals — photograph it as it is.
Trove identifies antiques from photographs and gives an estimated value range, with the reasoning behind it. Every figure is an AI estimate, not a professional appraisal.
Last updated: · Research and corrections policy